Page tree
Skip to end of metadata
Go to start of metadata

You are viewing an old version of this page. View the current version.

Compare with Current View Page History

« Previous Version 4 Next »

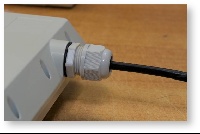
Cable gland assembly for R5000-Mmx/Mmxb/Omx/Omxb models.

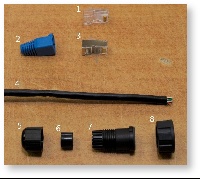
Required components:

  1. Shielded RJ-45 connectors
  2. Connector cover
  3. FTP Cat5e cable;
  4. Cable sealing nut
  5. Cable sealing grommet
  6. Cable gland case
  7. Cable gland nut

Step 1


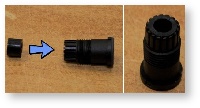
  • Insert the sealing grommet (6) into the cable gland case (7) as shown on the picture
  • Assemble the cable gland by placing the cable gland nut (8) on the cable gland case (7)
  • Put the cable sealing nut (5) and the cable gland assembly (7,8) onto the cable

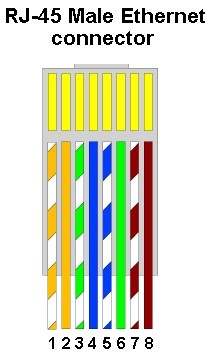
  • Crimp the shielded RJ-45 connector (1) onto the cable using the crimping tool

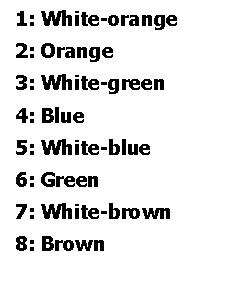
Pin-out scheme: T568B wiring standards

NOTE

The outside diameter value of the FTP Cat5e cable should not exceed 7 mm.

CAUTION

MAKE SURE THAT THE RJ-45 CONNECTOR IS WELL-CRIMPED. A LOOSE CONNECTOR CAN DAMAGE THE DEVICE. PLEASE NOTE THAT SUCH DAMAGE IS NOT COVERED BY THE WARRANTY.

Step 3


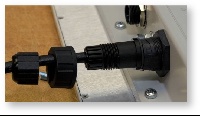
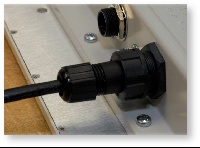
  • Insert the cable gland assembly to the device socket

Step 4


  • Tighten the cable gland nut (8) until you hear a click by rotating it clockwise
  • Tighten the cable sealing nut (5). Do not apply excessive force

Cable gland assembly for R5000-Smn/Lmn/Smnc models

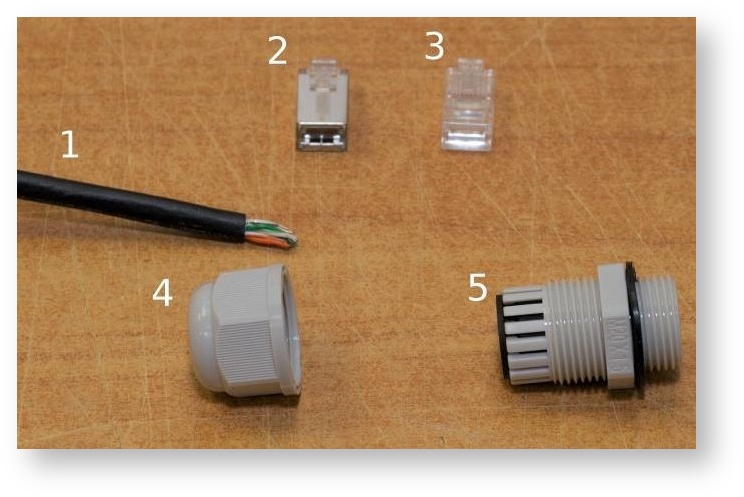
Required components:

  1. FTP Cat5e cable
  2. Shielded RJ-45 connectors
  3. Cable sealing nut
  4. Cable gland case

NOTE

The outside diameter value of the FTP Cat5e cable should not exceed 7 mm.

CAUTION

 Make sure that the RJ-45 connector is well-crimped. A loose connector can damage the device. Please note that such damage is not covered by the warranty.

Step 1


  • Put the cable sealing nut (4) and the cable gland case (5) onto the cable
  • Crimp the shielded RJ-45 connector (3) onto the cable using the crimping tool
  • Insert the connector into the socket until you hear a click
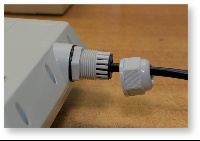
  • Screw the cable gland case into the port and tighten it. Do not apply excessive force.

Step 3


  • Tighten the sealing nut (4). Do not apply excessive force.

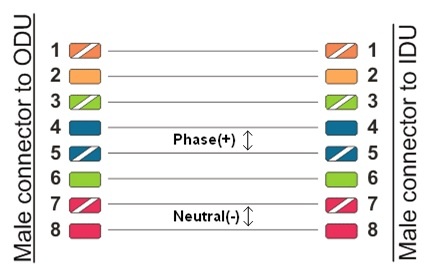
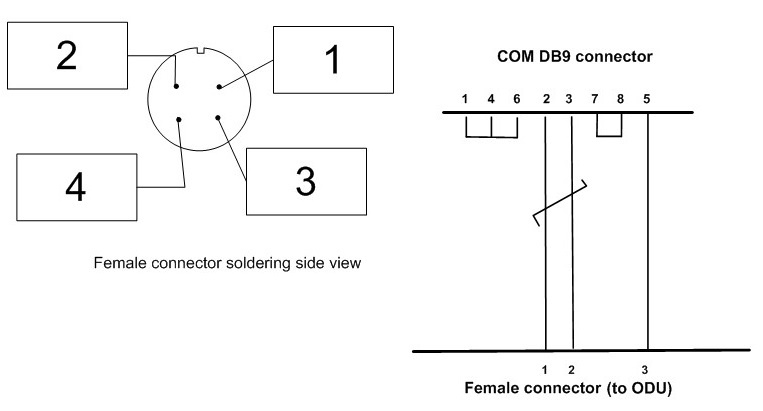
Console cable connector soldering scheme

Figure - Console cable connector soldering scheme

NOTE

 A properly assembled cable gland seales against humidity.
  • No labels