System requirements
InfiMONITOR can be installed both on the hardware and virtual platform (Oracle VM VirtualBox, VMware ESXi, Microsoft Hyper-V, Citrix XenServer are supported). Below are the recommended system requirements for the platform depending on the devices number to monitor by the InfiMONITOR:
Installation preparation
The following will be required for InfiMONITOR deployment:
- Platform for the deployment: the dedicated server or virtual machine conforming to the system requirements
- The ISO image with the latest InfiMONITOR software version from the official InfiNet Wireless FTP server - ftp://ftp.infinet.ru/pub/INMS/. For the installation to the dedicated server it is required to record the image to a CD or USB flash-drive.
Installation
Step 1 - Download
- In case the InfiMONITOR installs to the virtual machine: connect the ISO image with the installation program to it, in the virtual machine BIOS specify to boot from CD-ROM
- In case the InfiMONITOR installs to the dedicated server: insert the compact disk or USB flash-drive with the previously recorded installation program. In the BIOS specify to boot from install device.
Step 2 - The installation program launch
Start the server or virtual machine. In BIOS specify to boot from: CD-ROM or USB flash-drive.
After bootloader start the following menu will appear on the screen, select "Install InfiMONITOR"
Step 3 - The installation program
After several seconds the InfiMONITOR installation starts, thus the corresponding prompt message will appear.
Click the "Ok" button.
At this stage the installation program will find out all supported network adapters and prompts to select the one to use for InfiMONITOR.
Select the desired adapter and click the "Enter" button.
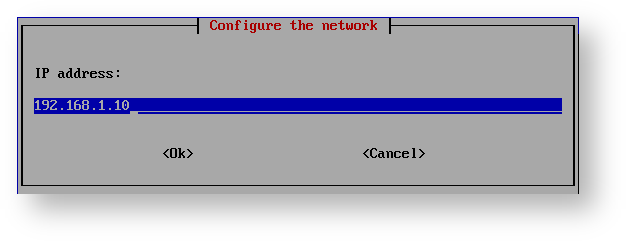
After the network adapter selection the network IP address for InfiMONITOR should be set. Specify the IP-address selected for the the monitoring system and click the "Enter" button.
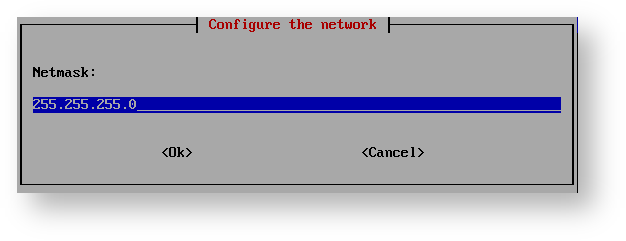
Set the network mask, click the "Enter" button
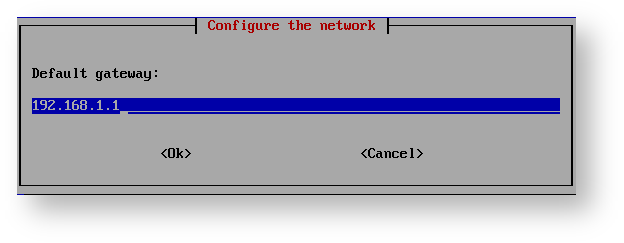
Set default gateway IP-address, click the "Enter" button
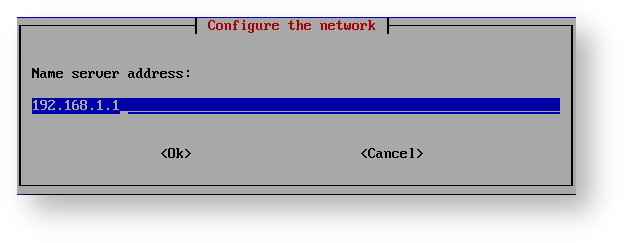
Set the DNS server IP-address, click the "Enter" button
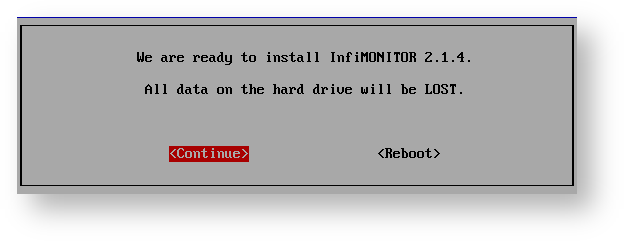
Now, after finish with the network configuration, the installation program will notify about the installation readinesss of InfiMONITOR.
CAUTION
The installation program will delete all the data on server or virtual machine hard disk. Please, make sure that the disk has no useful information, after the installation start, its recovery wil be impossible.
If you want to proceed with InfiMONITOR installation, click the "Continue" button.
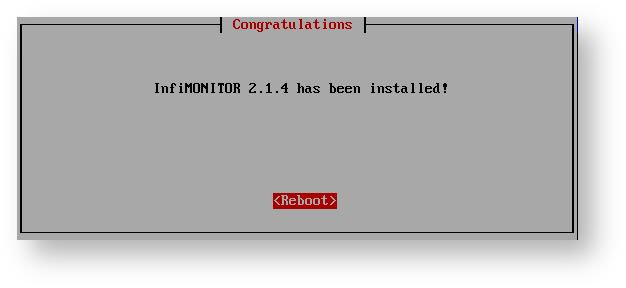
The installation procedure can take several minutes. After succeful install the installation program will notify that InfiMONITOR has been installed and ready to start. Click the "Reboot" button.
Step 4 - The InfiMONITOR first start
After installation has been finished, the system will reboot. Make sure the server or the virtual machine has BIOS boot settings set to hard disk now.
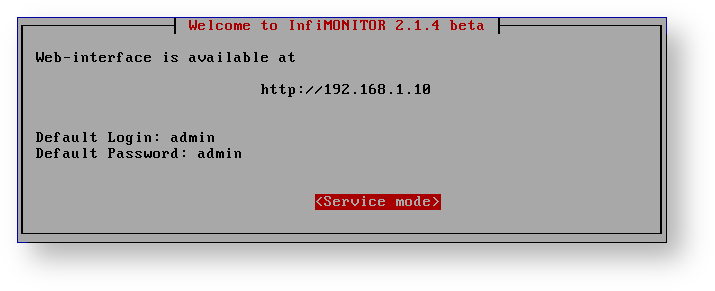
The startup may take about 1-2 minutes, after which you will be prompted to enter the service mode.
NOTE
The InfiMONITOR first start - is an important stage for various procedures which could not be performed at the installation stage. Therefore, right after the prompt appearance access to the monitoring system can be impeded for about 1-2 minutes.


